Creating and Managing Stock Templates
Templates store key details about each stock item—like name, vendor, par levels, and more.
Step 1: Log in to the VAIRKKO platform.
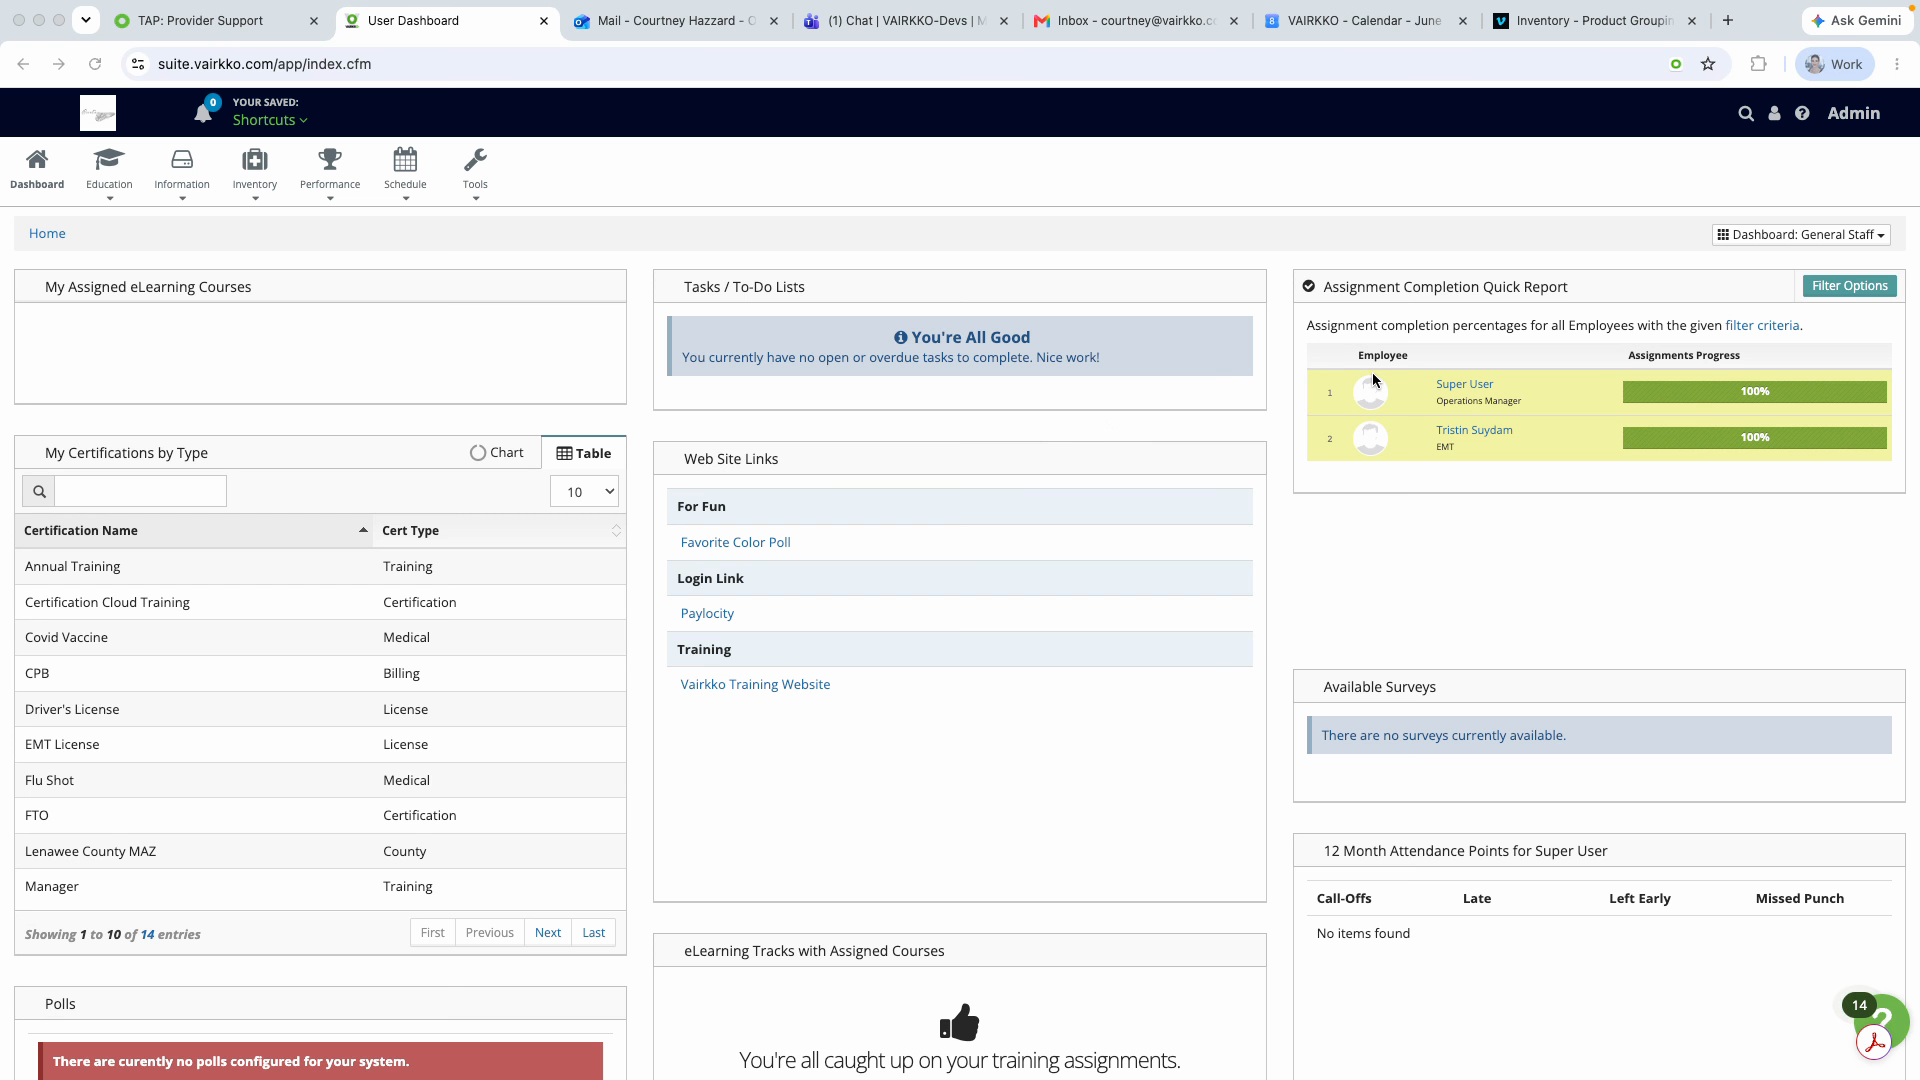
Step 2: Click Admin in the upper right corner to access the administrative area.
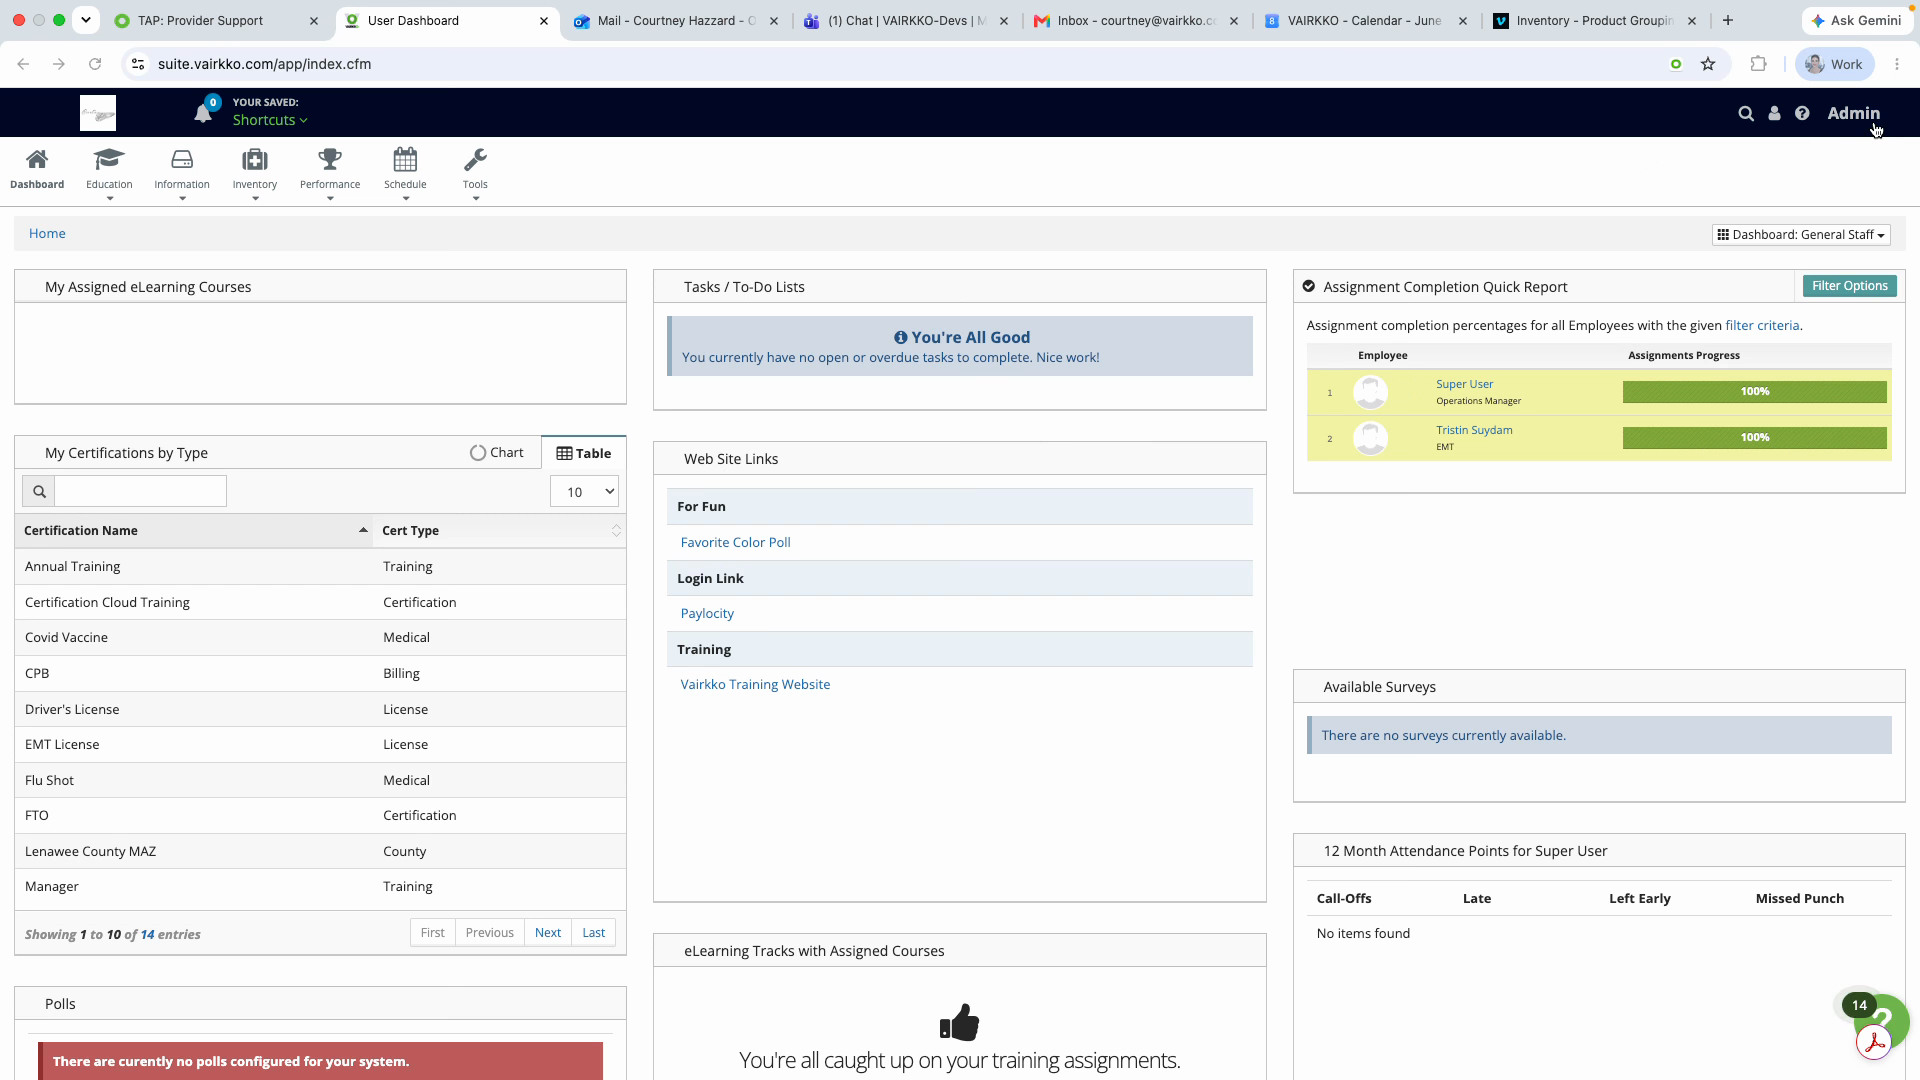
Step 3: Open the Inventory and Asset Cloud from the top navigation.
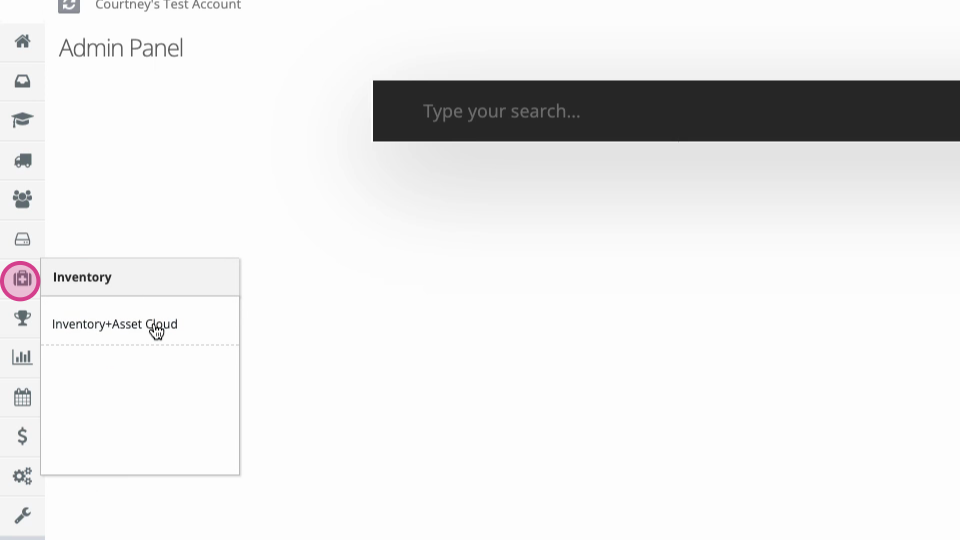
Step 4: Under Inventory, select Manage Items.
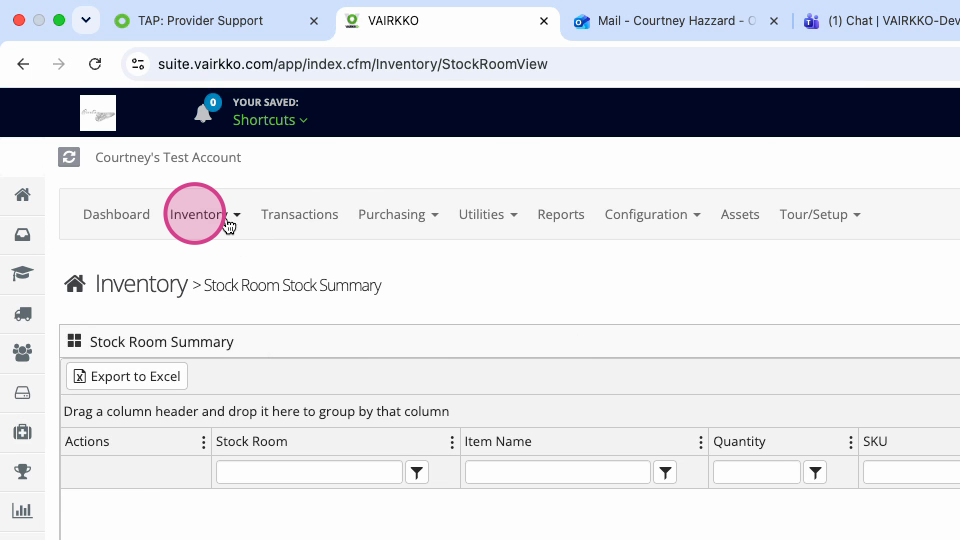
Step 5: Click Create New to start building a new item or template.
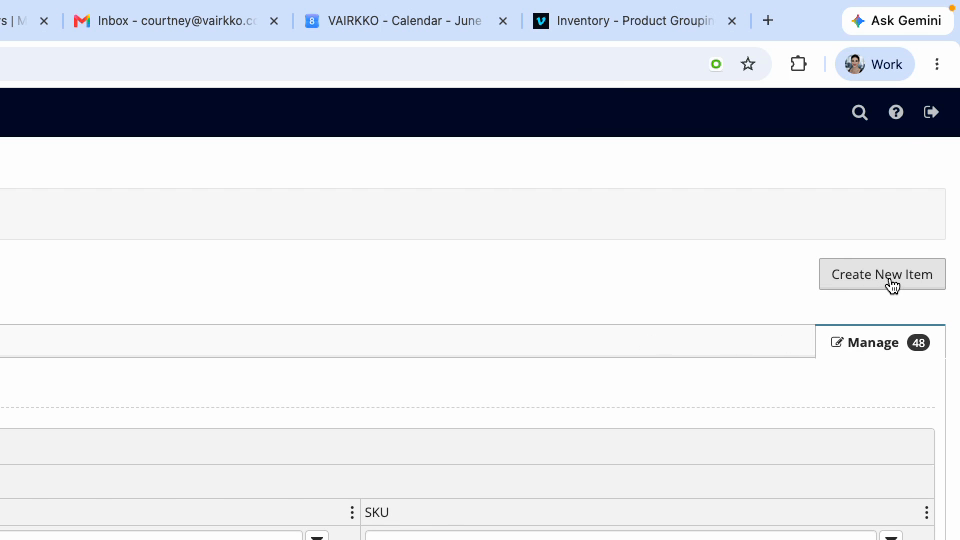
Step 6: Enter a name for your new item.
Step 7: Click Submit, then follow the on-screen instructions to set up the item.
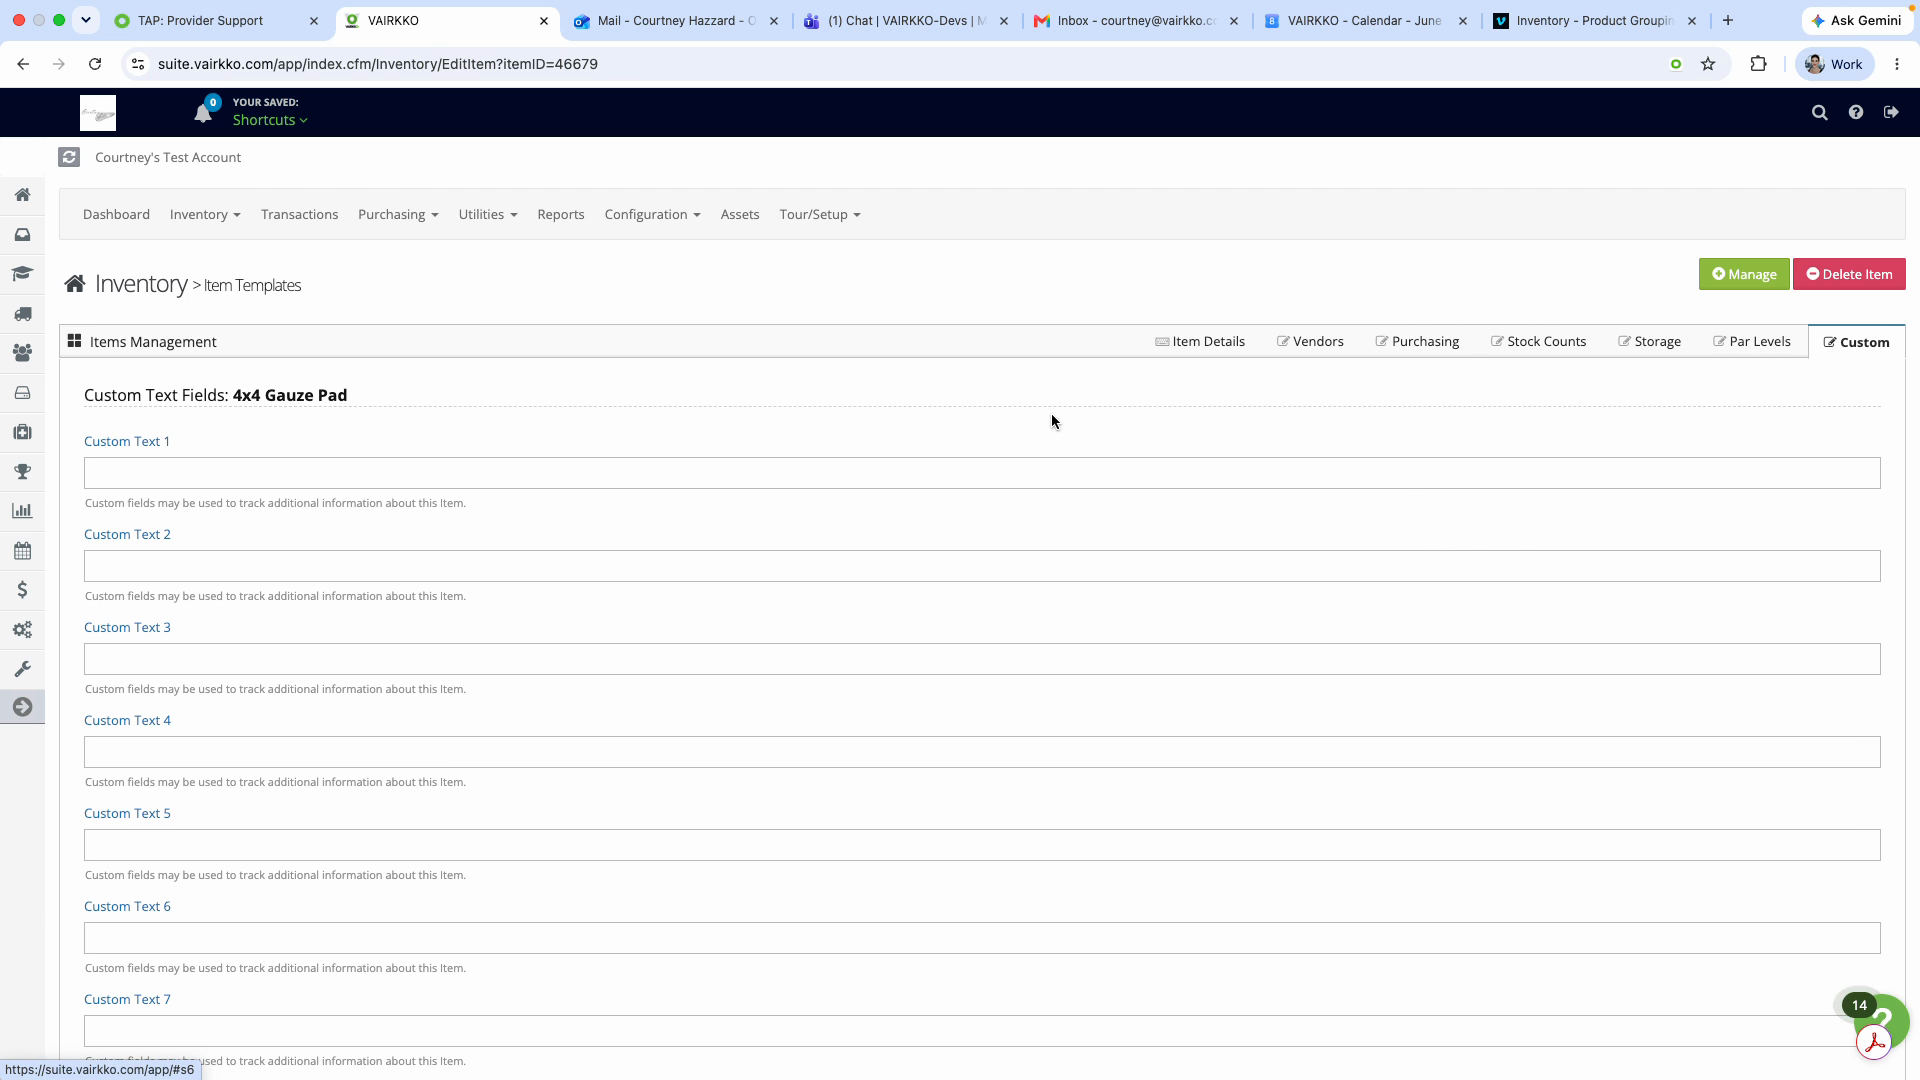
Step 8: After creating the item, explore the available tabs:
Item Details: Review and update all the basic information about your item.
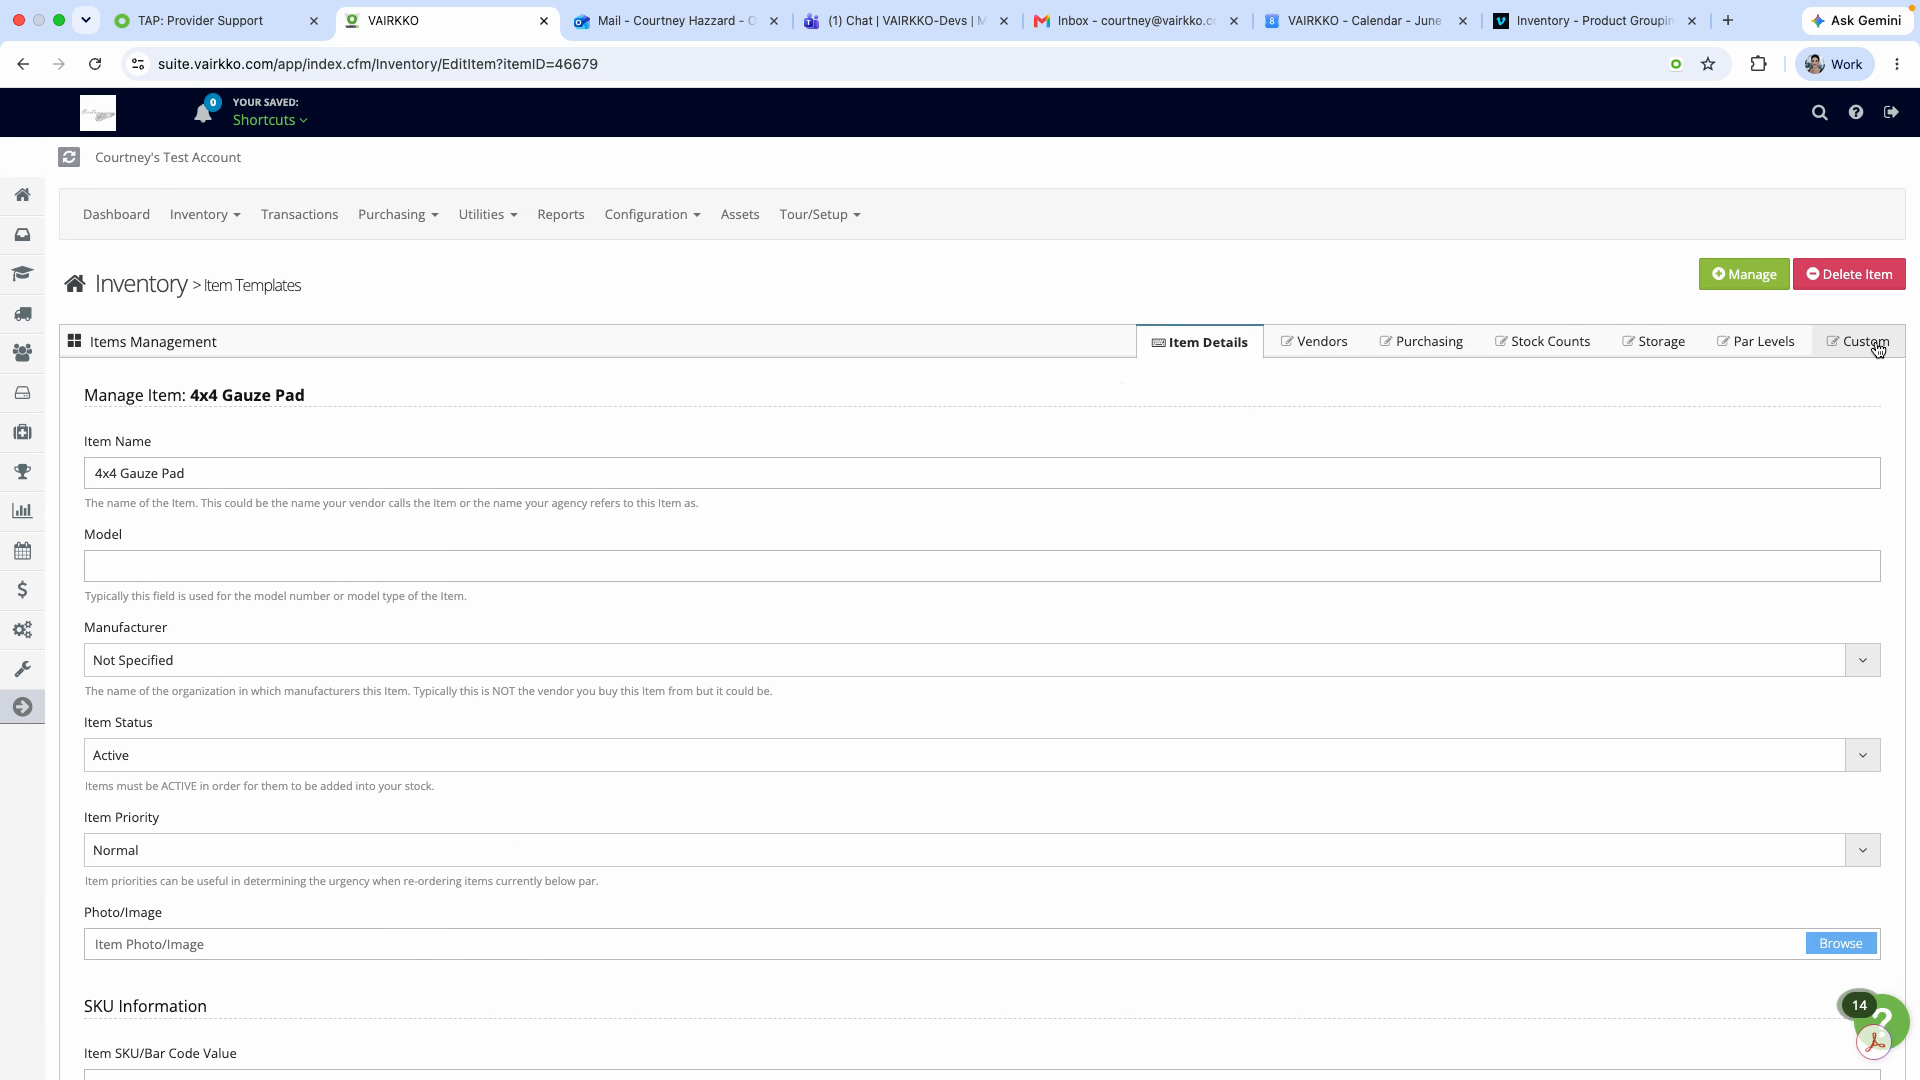
Vendors: Associate the item with a specific vendor or assign from existing vendors.
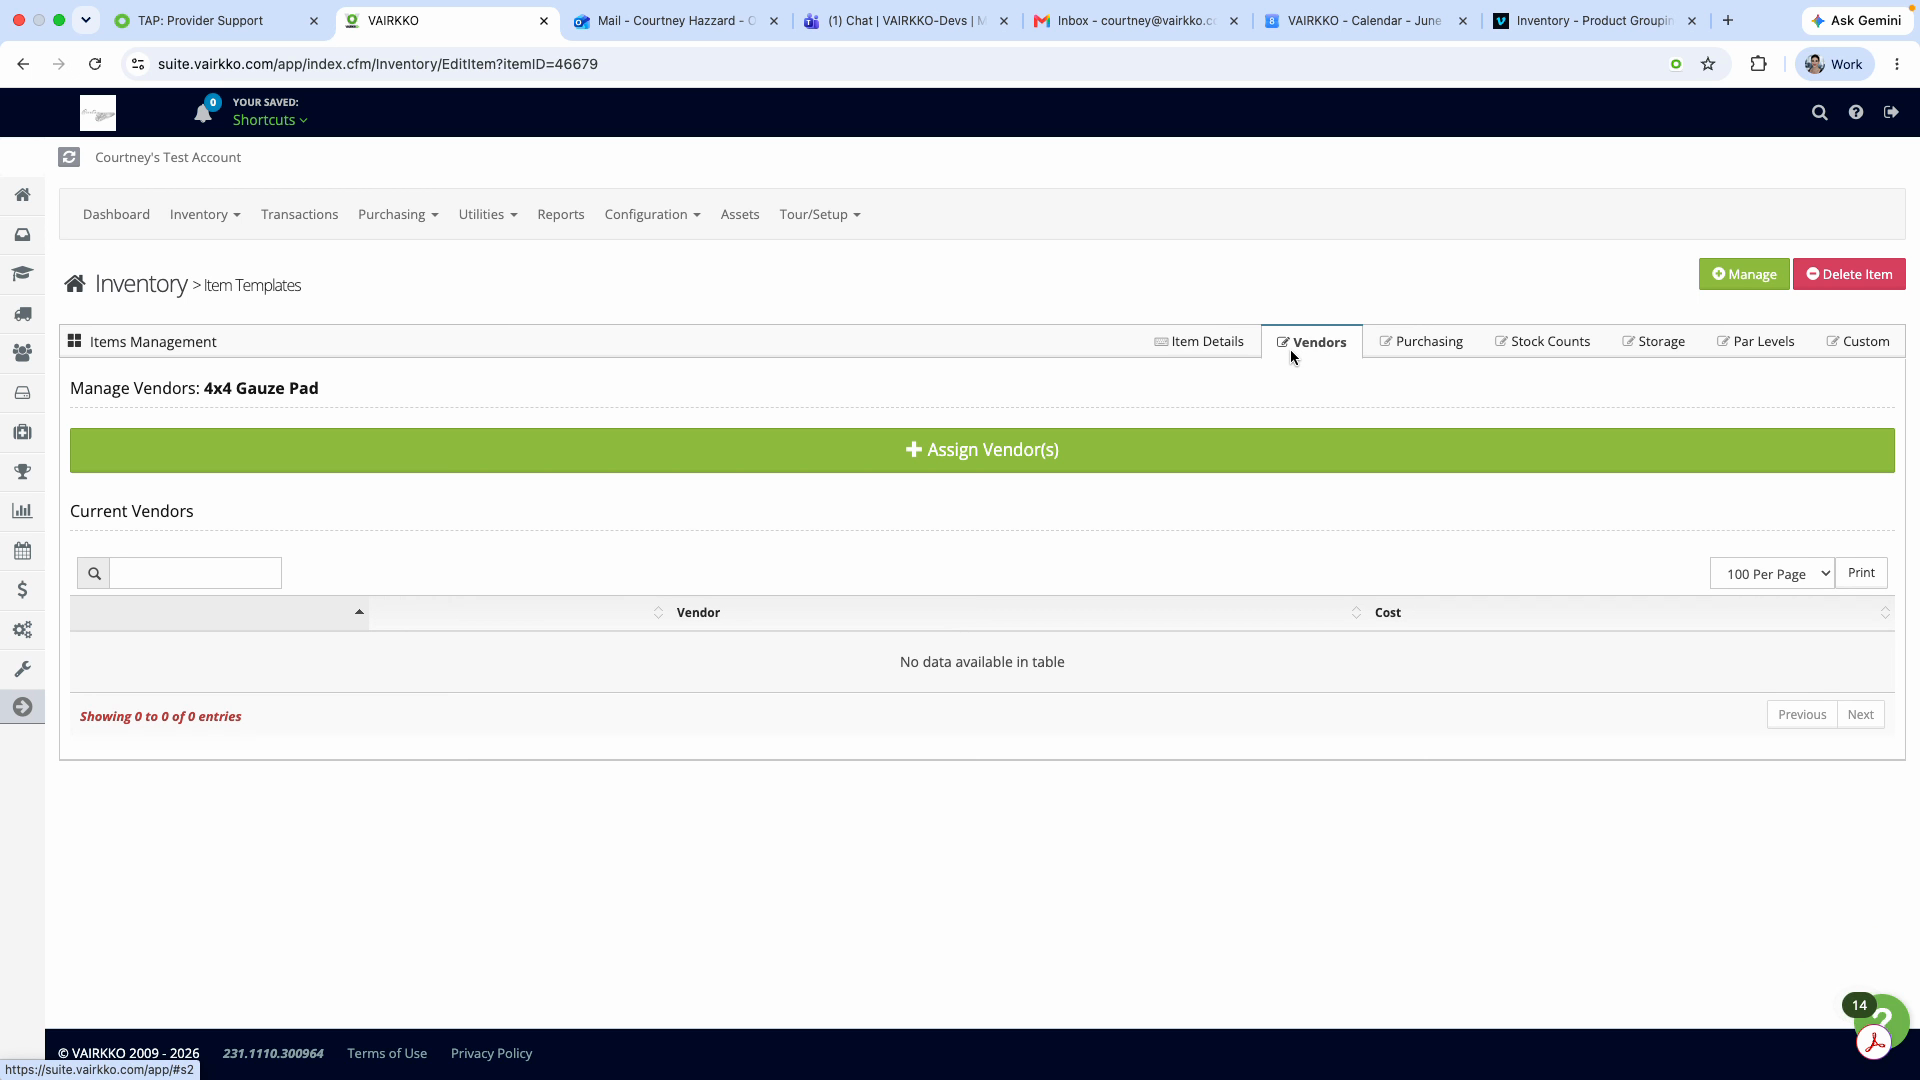
Purchasing: View any purchase orders related to the item.
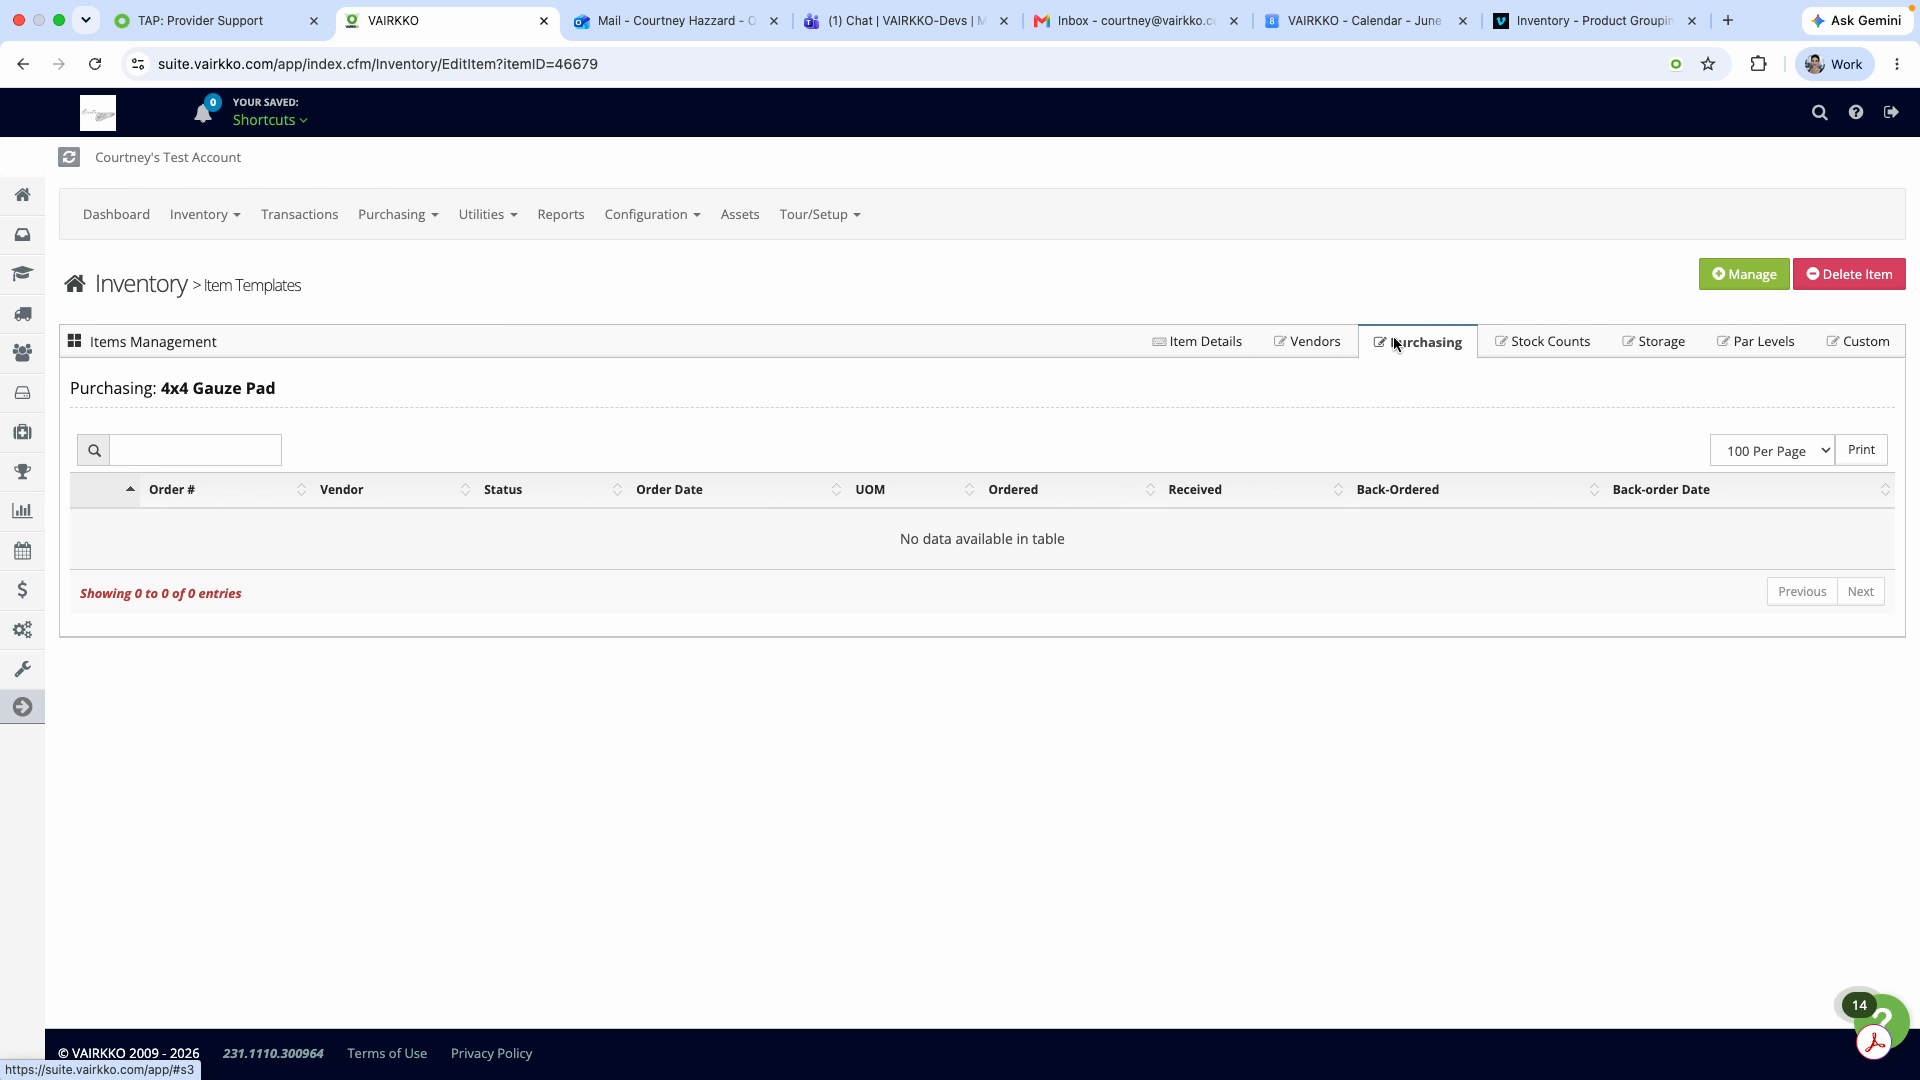
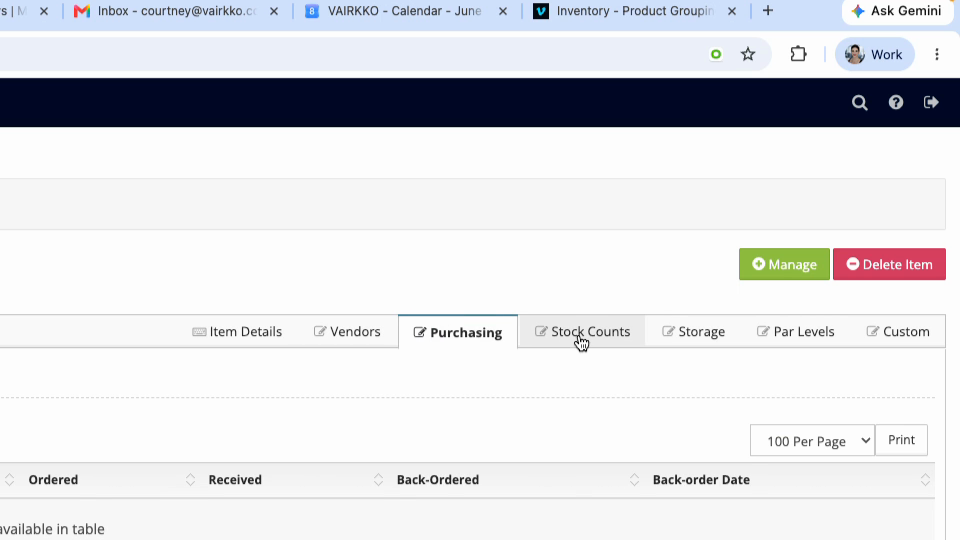
Stock Counts: Check stockroom inventory for the item.
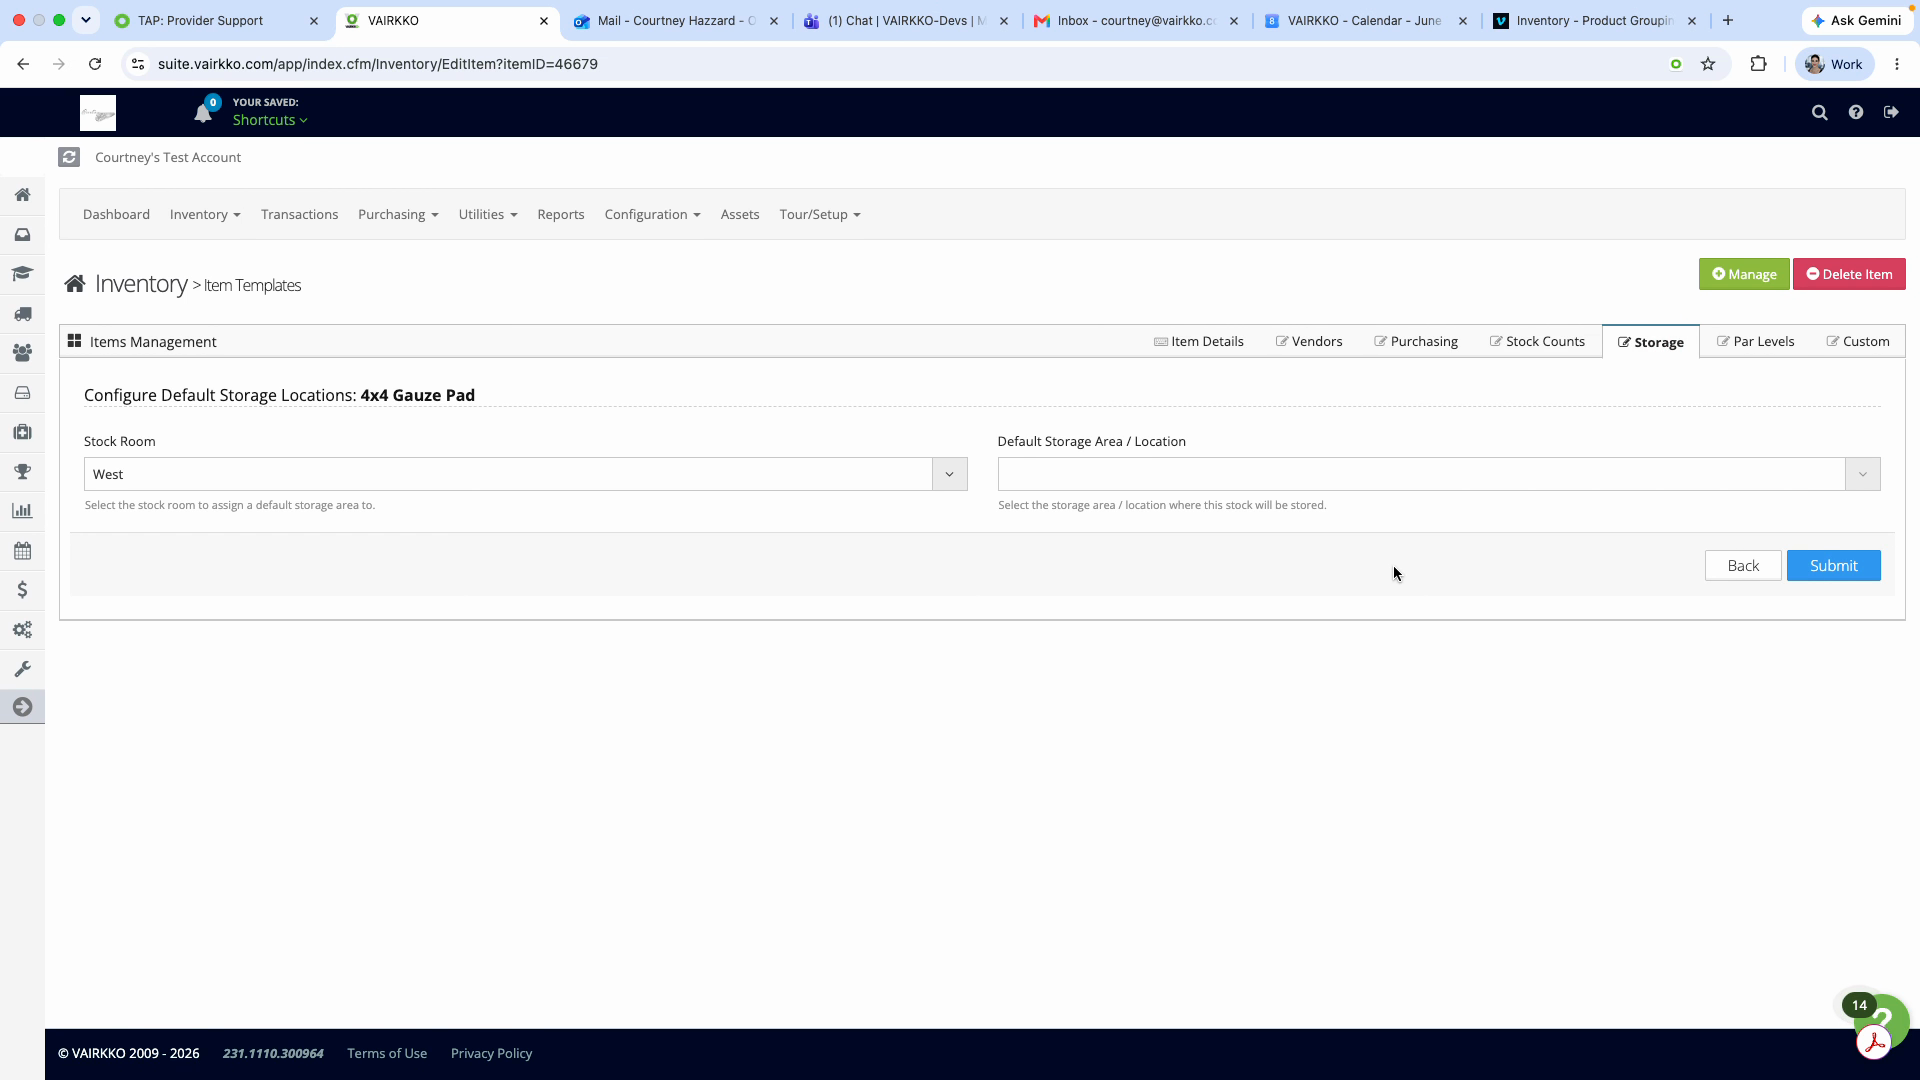
Storage: Assign or update the storage area for the item.
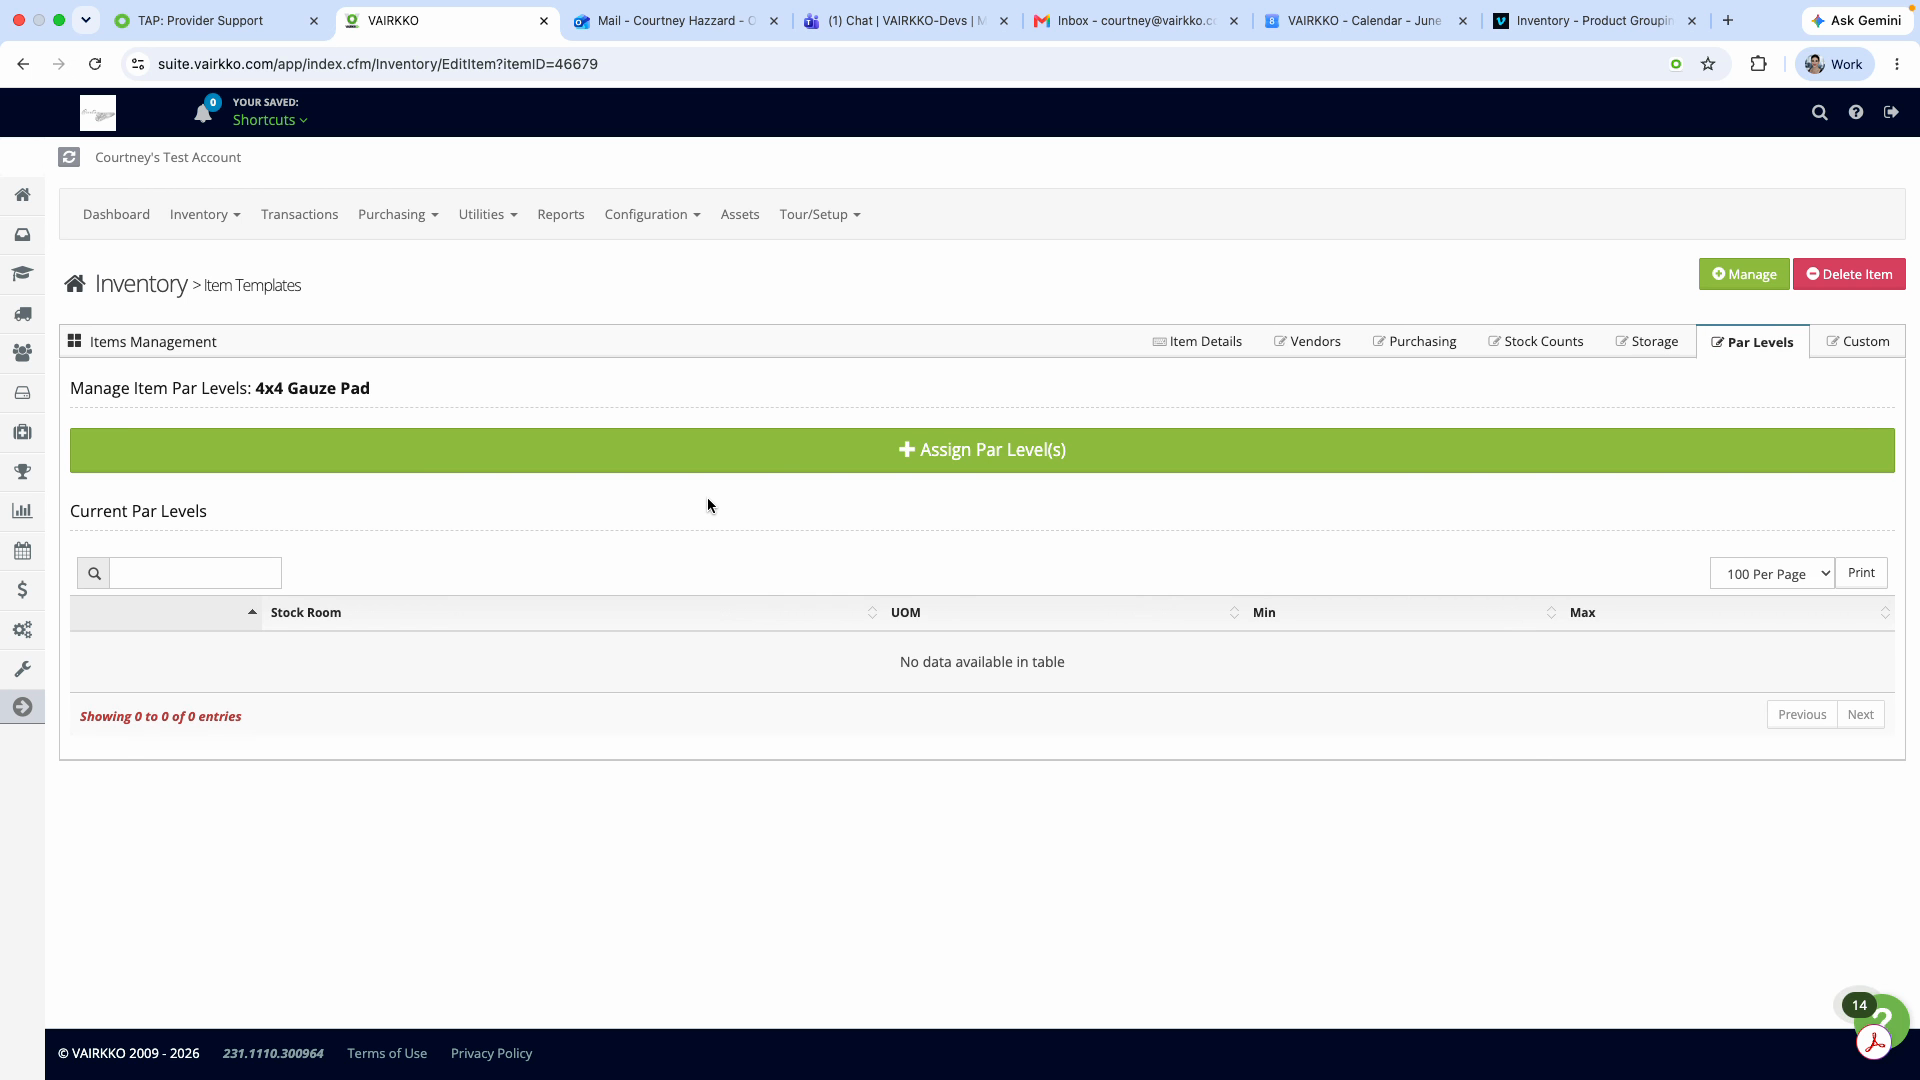
Par Levels: Set or review PAR (Periodic Automatic Replenishment) levels. Use Bulk Edit in the configuration area to update multiple items at once.
Custom Tab: Add custom information with text or date fields as needed.
Editing or Managing Existing Templates
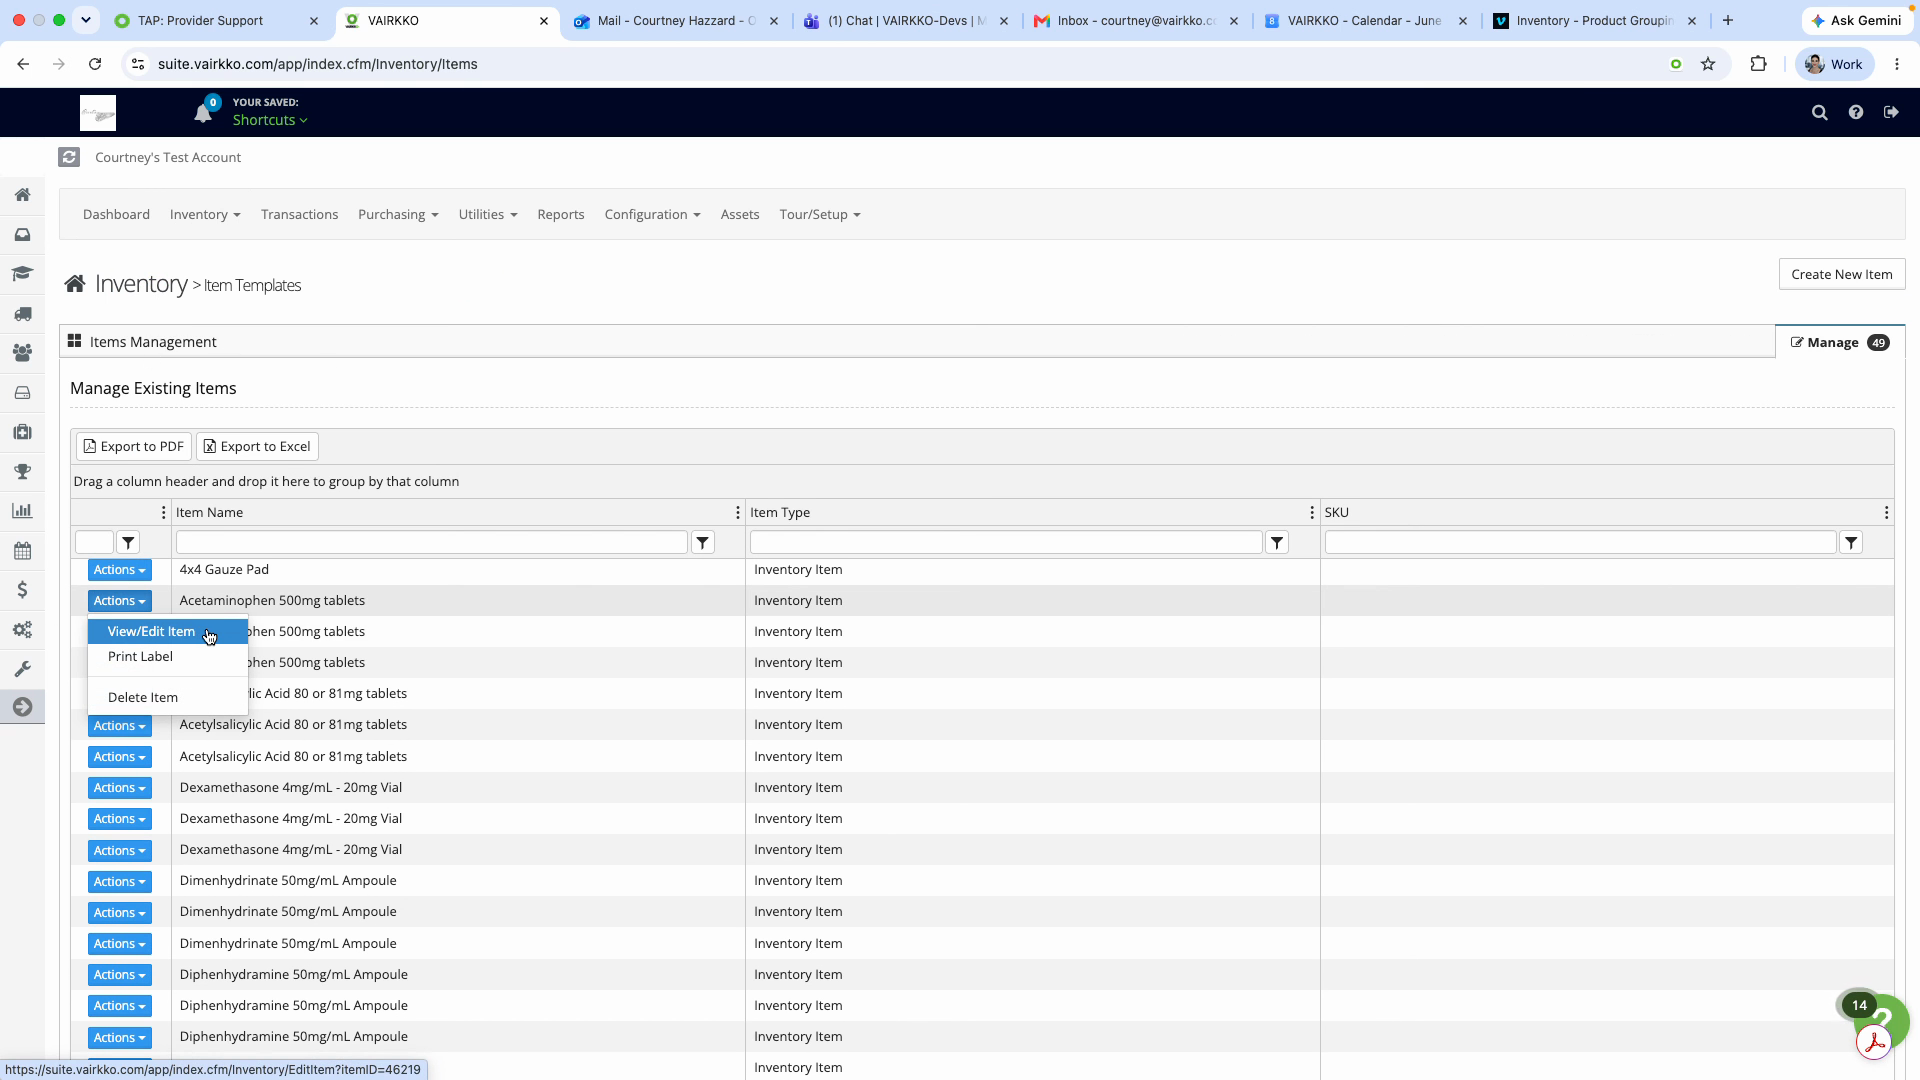
Step 1: Go back to Manage Items.
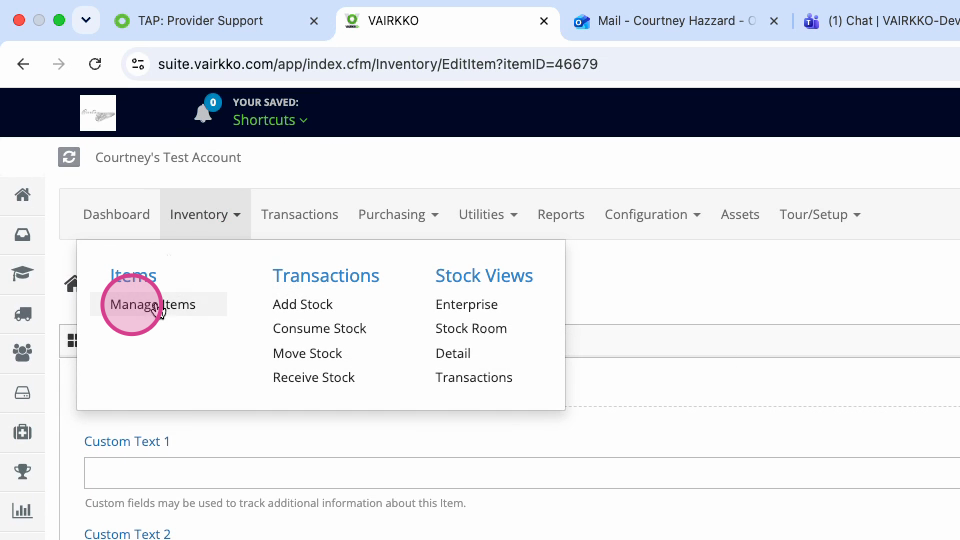
Step 2: Find the item or template you want to update.
Step 3: Click the Actions button.
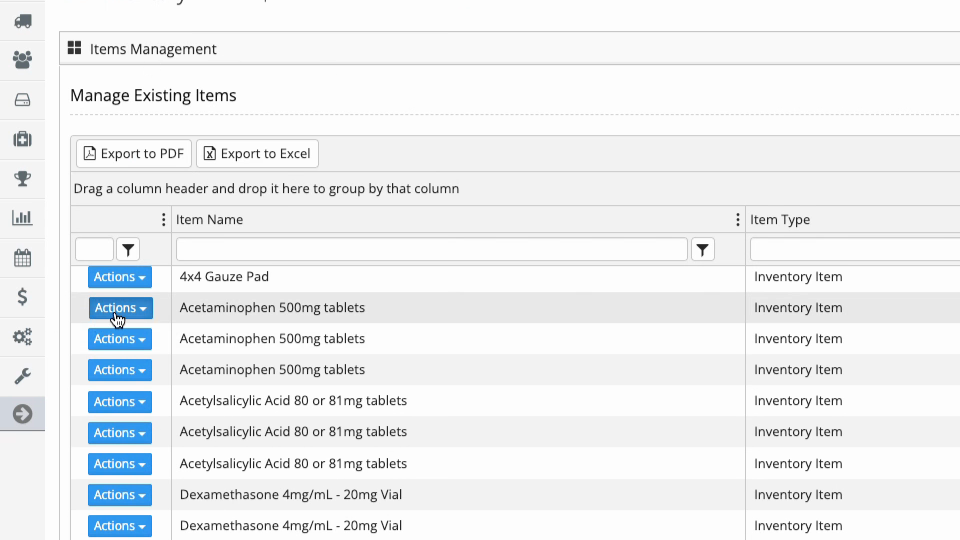
Step 4: Choose whether to edit, print a label, or delete the item.