How to Add Assets in VAIRKKO
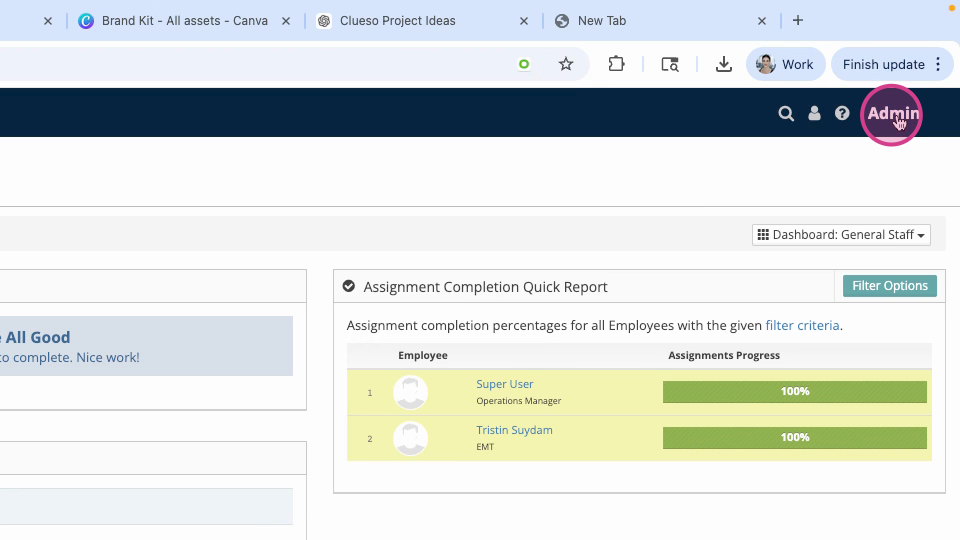
Step 1: Log in to the VAIRKKO platform and open the administration side of the system.
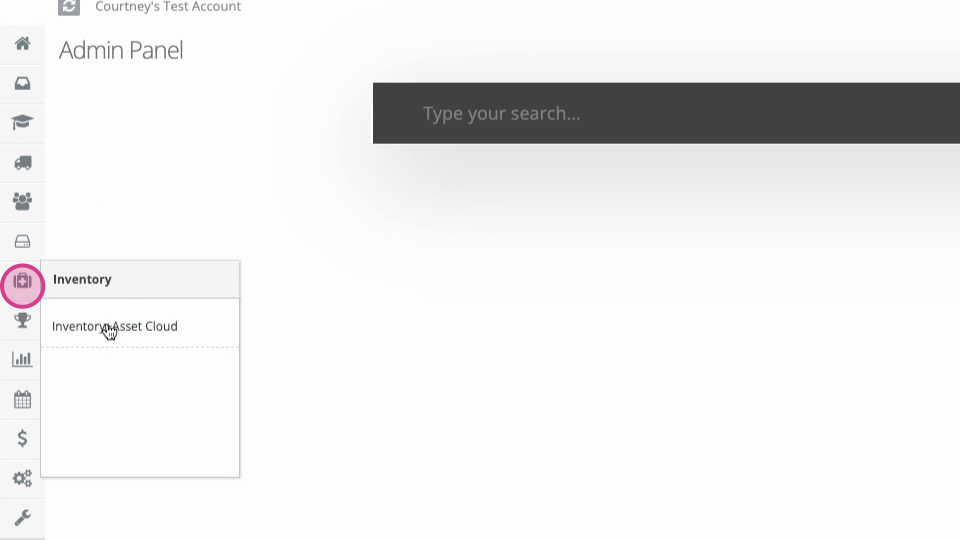
Step 2: In the left-hand menu, go to Inventory and Asset Cloud.
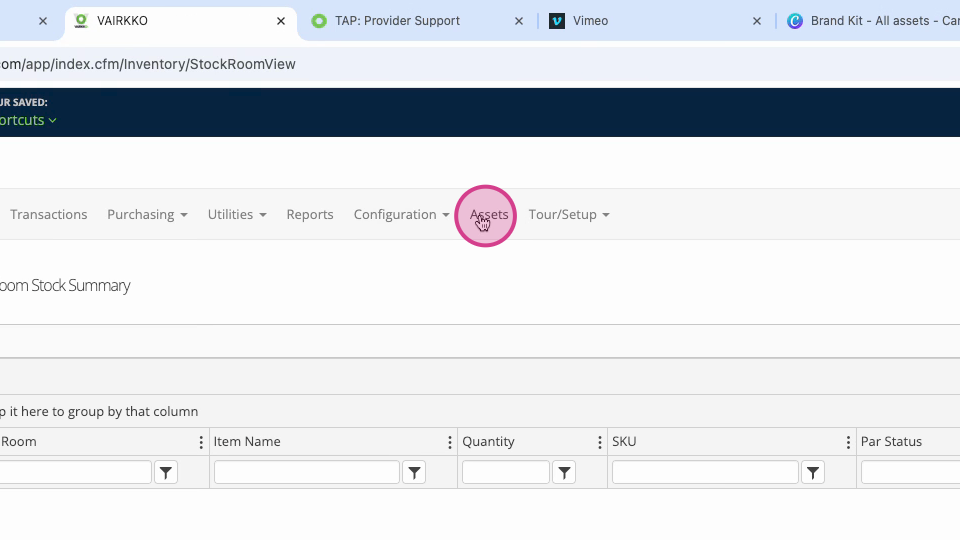
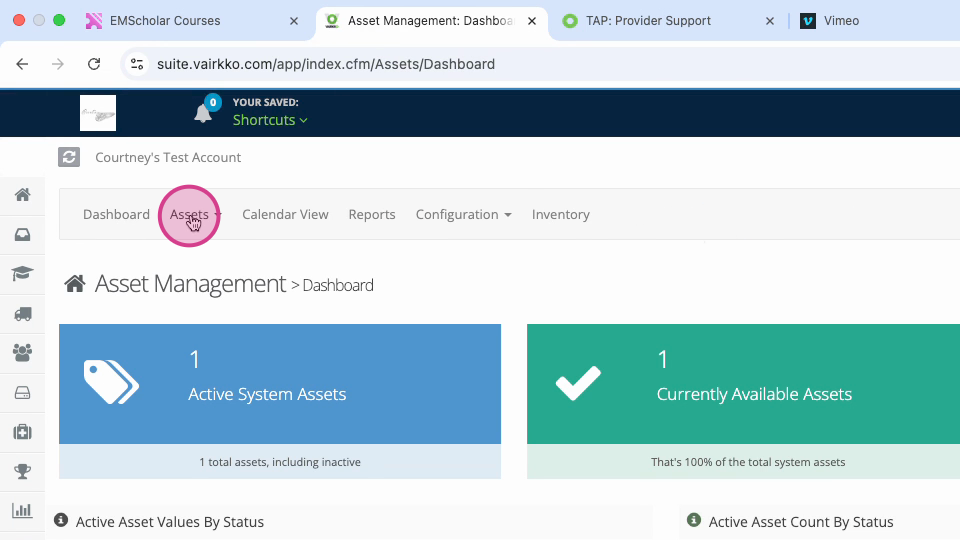
Step 3: From the menu at the top, select Assets.
Step 4: Choose Manage Assets from the dropdown.
Step 5: Click Add Asset to start adding a new item.
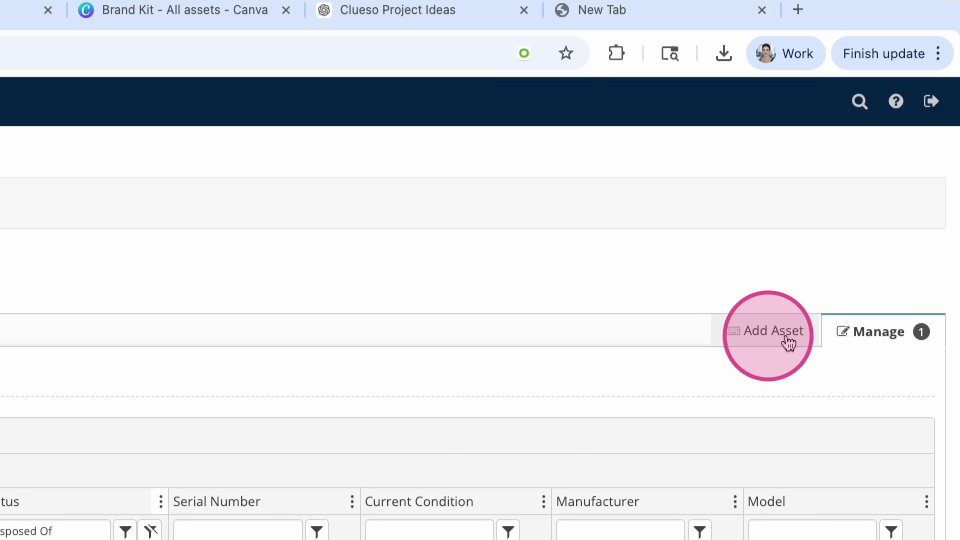
Step 6: Enter a name for your asset.
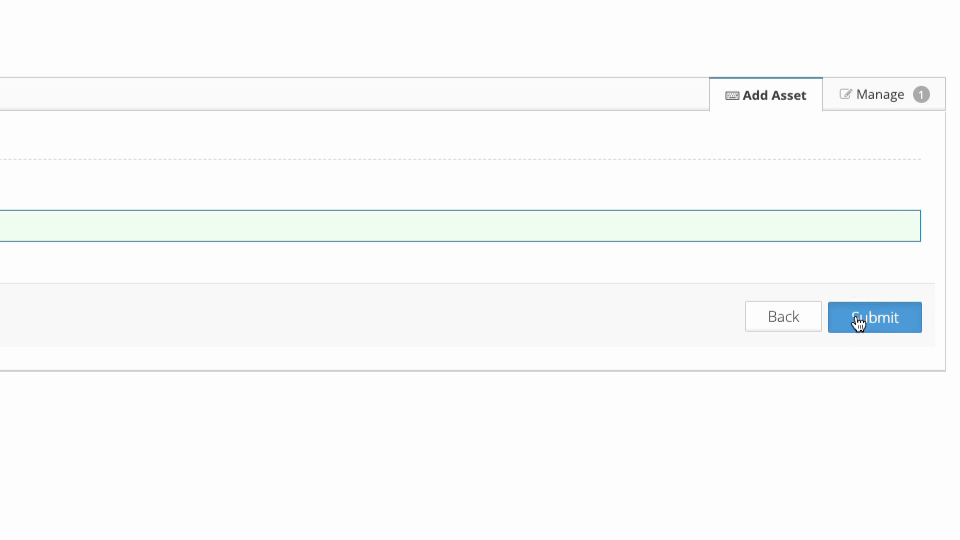
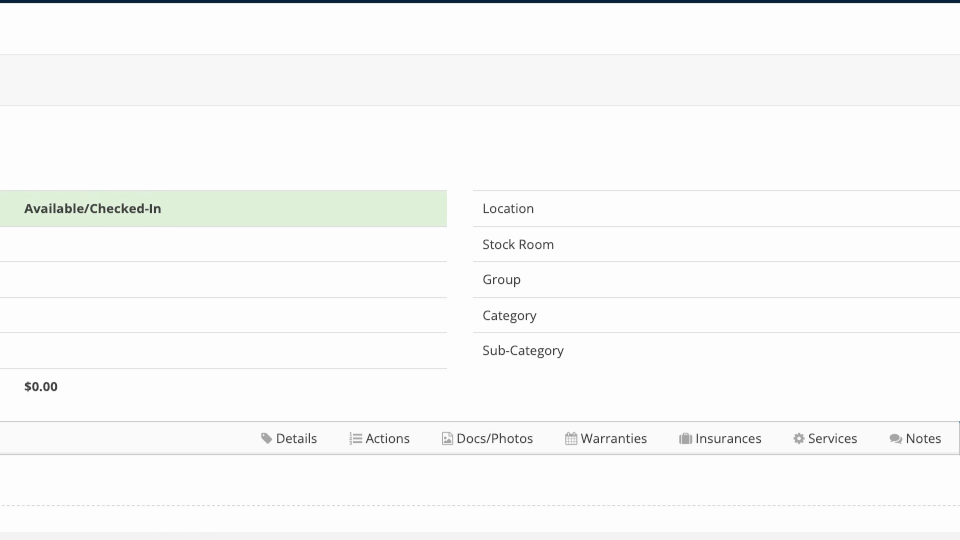
Step 7: Fill in the additional information prompted on the screen. Start with the Details tab to add basic info like name, price, purchase source, and serial number.
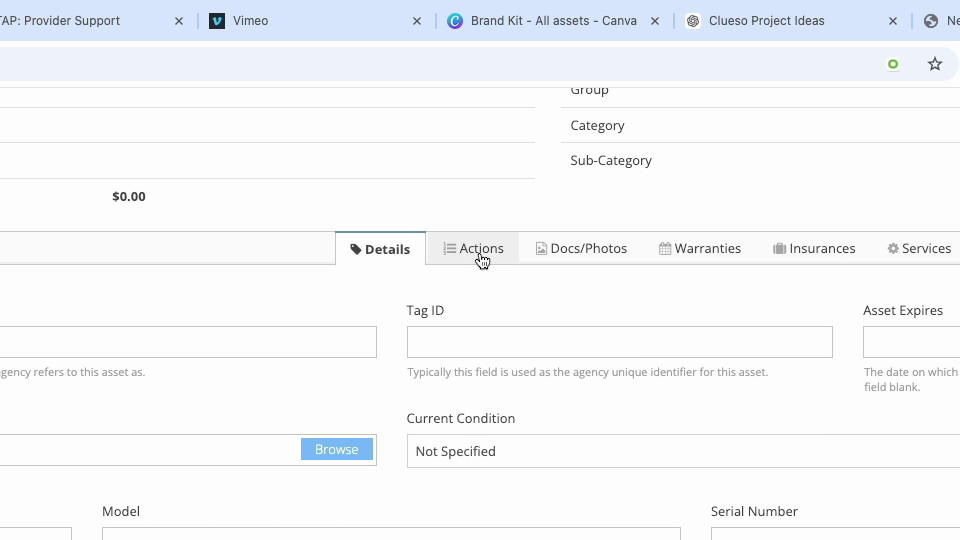
Step 8: Switch to the Actions tab to view or track the status history of the asset.
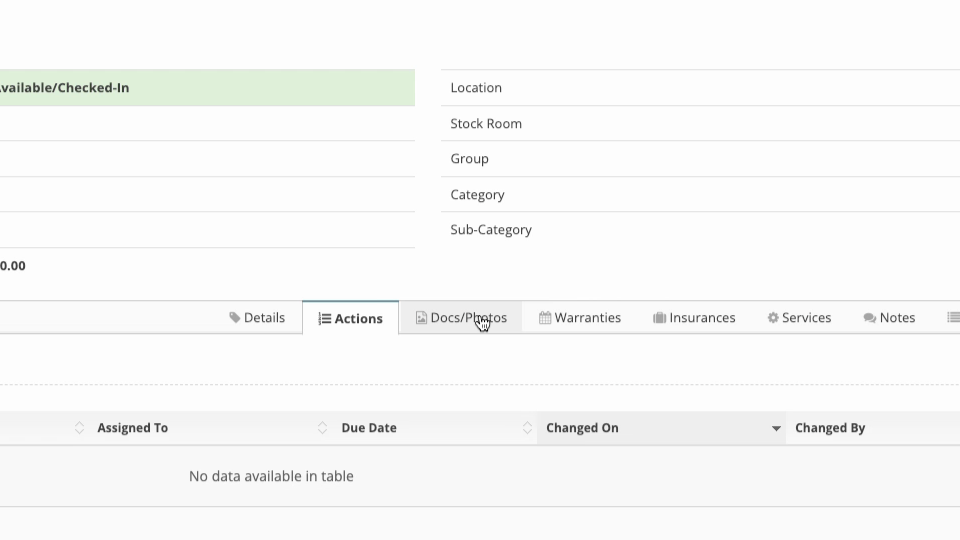
Step 9: Add any related documents or photos in the Docs and Photos tab.
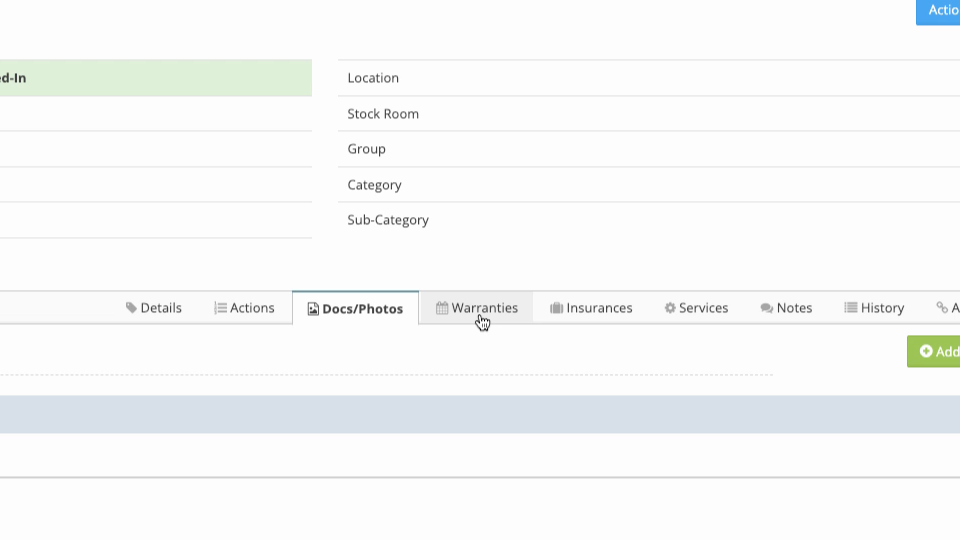
Step 10: Record warranty information in the Warranties tab.
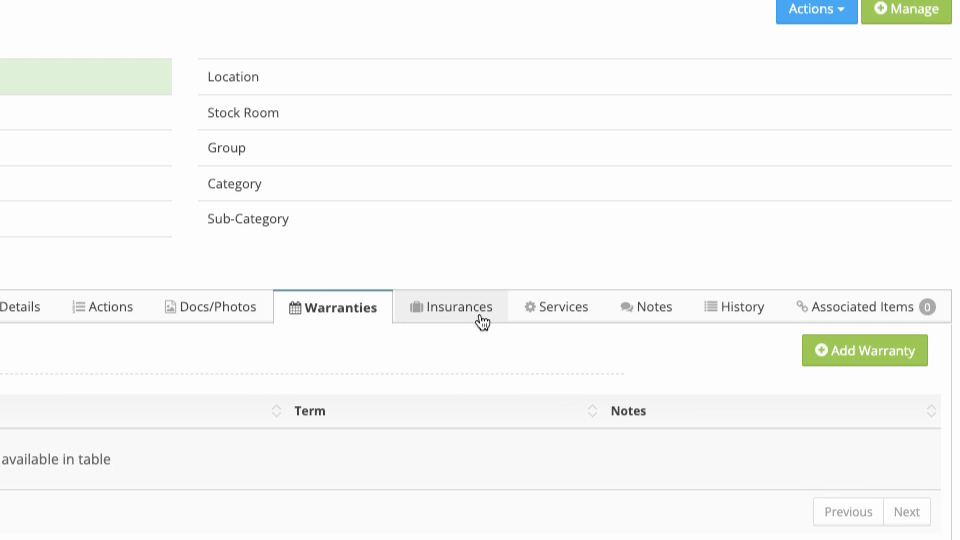
Step 11: Store insurance information under the Insurances tab.
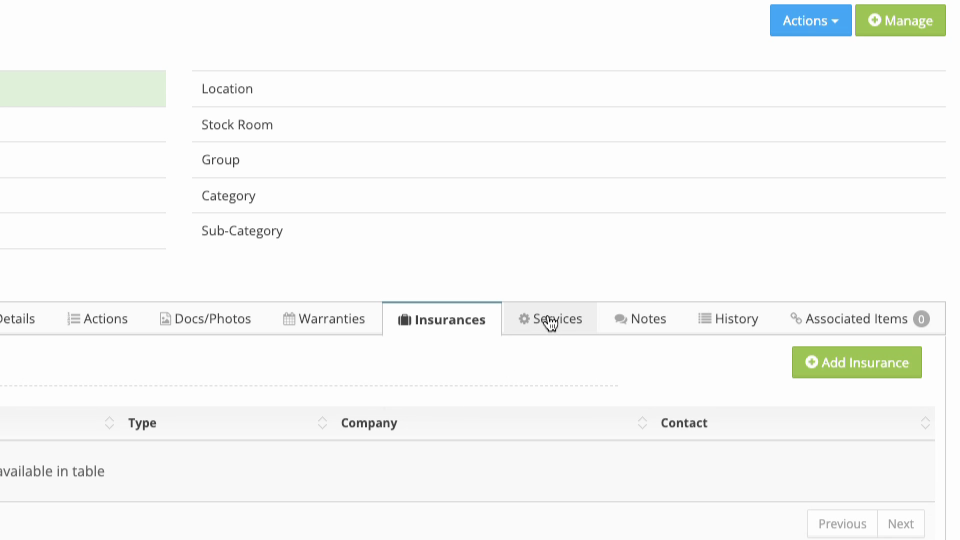
Step 12: Track maintenance plans for your asset in the Services tab.
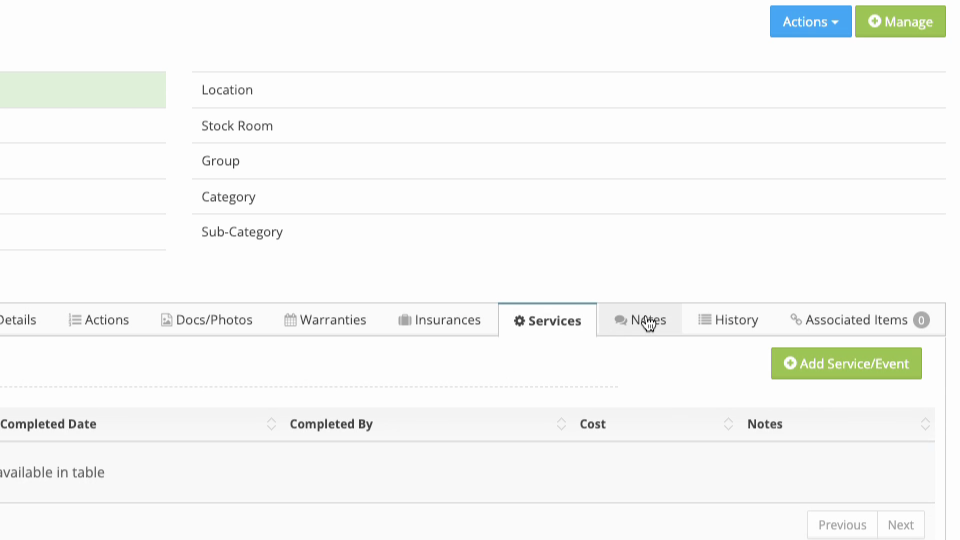
Step 13: Use the Notes tab to add any necessary comments or internal notes.
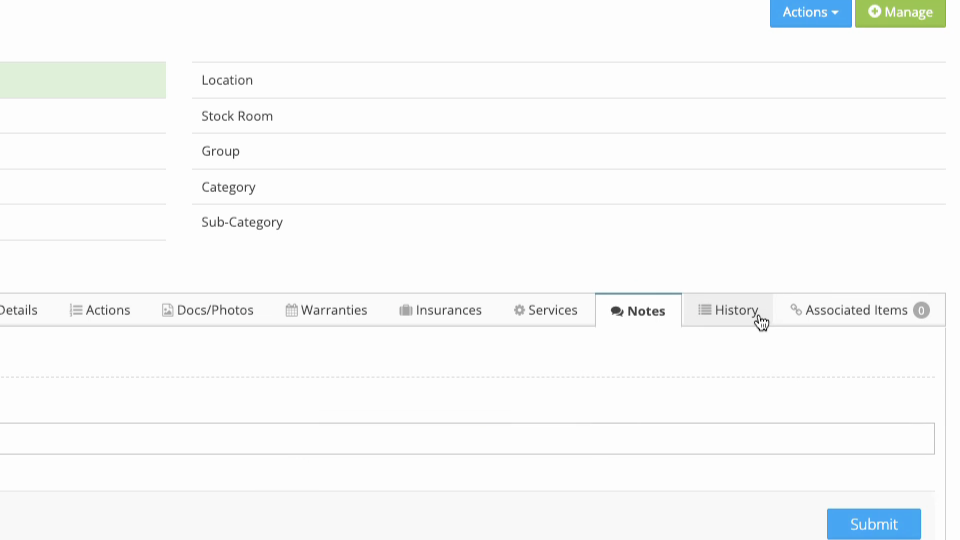
Step 14: Review the full history of the asset under the History tab.
Was this article helpful?
That’s Great!
Thank you for your feedback
Sorry! We couldn't be helpful
Thank you for your feedback
Feedback sent
We appreciate your effort and will try to fix the article